Deadlift is a highly effective exercise for building strength and muscle mass. To reap its full benefits and minimize the risk of injury, maintaining perfect form is essential. This comprehensive guide covers all aspects of deadlifting, from the initial setup and execution to identifying and correcting common mistakes. Whether you are a beginner or an experienced lifter, understanding the intricacies of deadlift form will enhance your performance and safety. By focusing on proper technique, you can maximize your gains and safely incorporate this powerful lift into your strength training routine.
The Ultimate Guide to Perfecting Your Deadlift Form
1. Understanding the Basics of Deadlift Form
Setup:
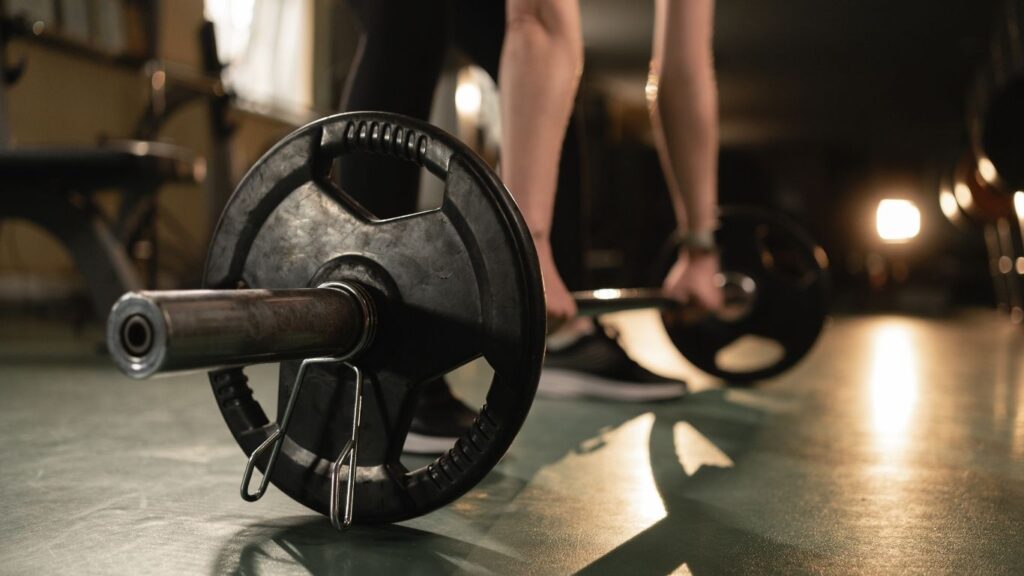
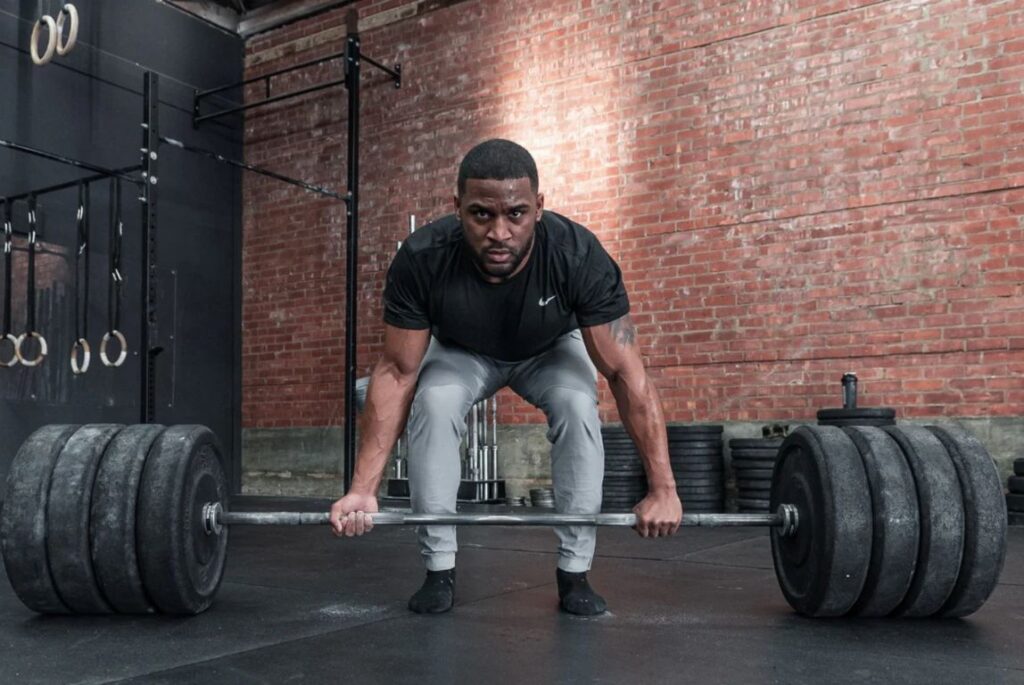
- Foot Placement: Stand with your feet hip-width apart, with your mid-foot directly under the barbell. Your toes should point slightly outward.
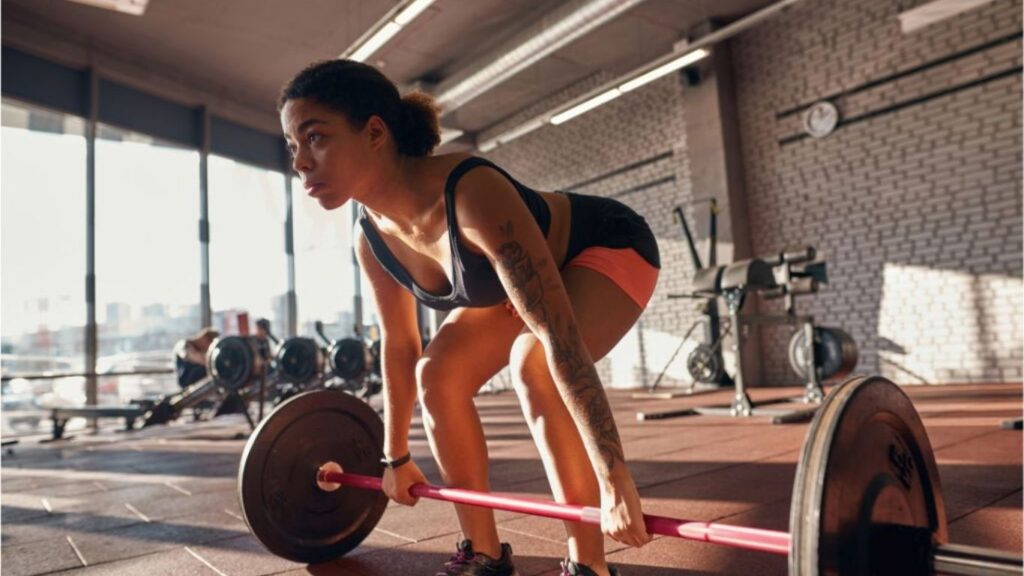
- Grip: Bend at the waist and grip the barbell with both hands just outside of your knees. Use a shoulder-width grip.
- Hips and Knees: Bend your knees until your shins touch the bar, and position your hips higher than your knees, similar to a half squat.
Body Position:
- Back: Maintain a neutral spine by engaging your core and keeping your back straight.
- Shoulders and Arms: Your shoulder blades should be over the bar, with arms fully extended and relaxed.
- Breathing: Take a deep breath and hold it to create intra-abdominal pressure, which stabilizes your spine.
2. Executing the Lift

Lifting the Bar:
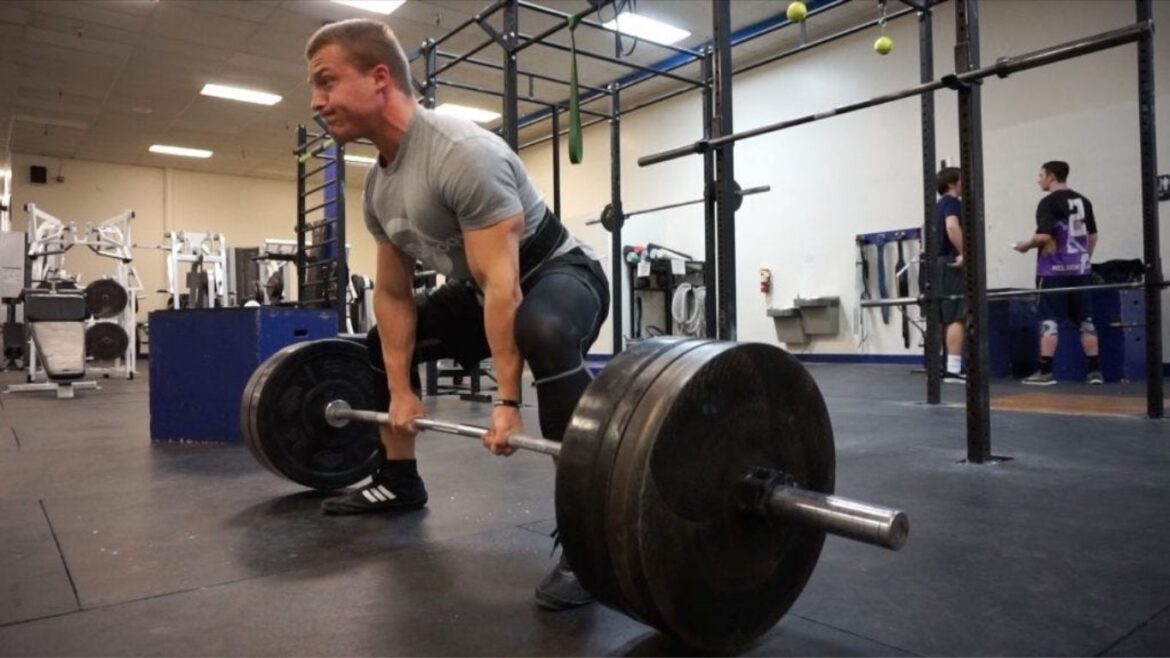
- Initiate the Lift: Push through your heels and extend your knees and hips simultaneously. The bar should travel in a straight line up your body, staying close to your shins.
- Maintain Position: Keep your chest up and shoulders back. Your hips and shoulders should rise at the same rate to avoid a “stripper deadlift,” where the hips rise faster than the chest.
- Lockout: As the bar passes your knees, drive your hips forward and squeeze your glutes to fully extend your hips and knees. Stand tall with the barbell at thigh level.
Lowering the Bar:
- Hinge at the Hips: Begin the descent by pushing your hips back while keeping your back straight. Lower the bar to knee level first.
- Bend the Knees: Once the bar passes your knees, bend your knees to lower the bar to the ground. The bar should travel in a straight line, similar to the ascent.
3. Common Mistakes and How to Avoid Them
Rounding the Back:
- Issue: A rounded back can lead to serious spinal injuries.
- Solution: Engage your core and maintain a neutral spine throughout the lift. Visualize pulling your chest up and keeping your shoulder blades retracted.
Jerking the Bar:
- Issue: Jerking the bar off the ground can disrupt your form and increase injury risk.
- Solution: Focus on a smooth, controlled lift. Tighten your body before initiating the lift and drive through your heels.
Knee Lockout:
- Issue: Locking out your knees can put unnecessary stress on your joints.
- Solution: Keep your knees soft at the top of the lift. Aim for around 85-95% straight, without fully locking out.
Incorrect Descent:
- Issue: Bending your knees too early can lead to poor form and potential injuries.
- Solution: Initiate the descent with a hip hinge, keeping your back straight and bending your knees only after the bar passes them.
4. Advanced Tips for Deadlift Mastery

Breathing Techniques:
- Inhale Deeply: Before you lift, take a deep belly breath to stabilize your core. Exhale only after you’ve completed the lift.
- Controlled Breathing: Proper breathing enhances core stability and prevents undue strain on your spine.
Grip Variations:
- Double Overhand Grip: Suitable for lighter weights and beginners.
- Mixed Grip: One hand overhand, the other underhand. This grip provides more security for heavier weights but should be alternated to prevent muscle imbalances.
- Hook Grip: Effective for heavy lifting, where the thumb locks under the fingers for a stronger hold.
Footwear and Equipment:
- Flat Shoes: Wear flat-soled shoes to maintain stability and a firm connection with the ground.
- Chalk and Straps: Use chalk for better grip and straps if your grip strength is a limiting factor in your lifts.
Body Position Cues:
- Hip Hinge Focus: Practice the hip hinge movement separately to ensure your deadlift technique is solid.
- Visual Cues: Pick a spot in front of you to focus on, which helps keep your head and neck in a neutral position.
5. Incorporating Deadlifts into Your Routine

Frequency:
- Beginners: Start with 1-2 deadlift sessions per week, with 2-3 sets of 4-6 reps per session.
- Experienced Lifters: Depending on your program, you can increase frequency, but ensure adequate recovery to prevent overtraining.
Complementary Exercises:
- Back Strengthening: Include exercises like barbell rows and pull-ups to complement your deadlifts.
- Leg Work: Squats and lunges help build the leg strength necessary for effective deadlifting.
Recovery:
- Rest: Ensure you have enough rest between deadlifting sessions to allow your muscles to recover and grow.
- Mobility Work: Regular stretching and mobility exercises can prevent stiffness and improve your deadlift form over time.
Conclusion
Perfecting your deadlift form is a journey that requires patience, practice, and attention to detail. By focusing on proper setup, execution, and avoiding common mistakes, you can safely and effectively incorporate this powerful lift into your strength training routine. Remember, consistency and proper form are key to maximizing the benefits of deadlifts while minimizing the risk of injury.
Also read: 10 Ways to Treat Post Workout Muscle Soreness at Home
