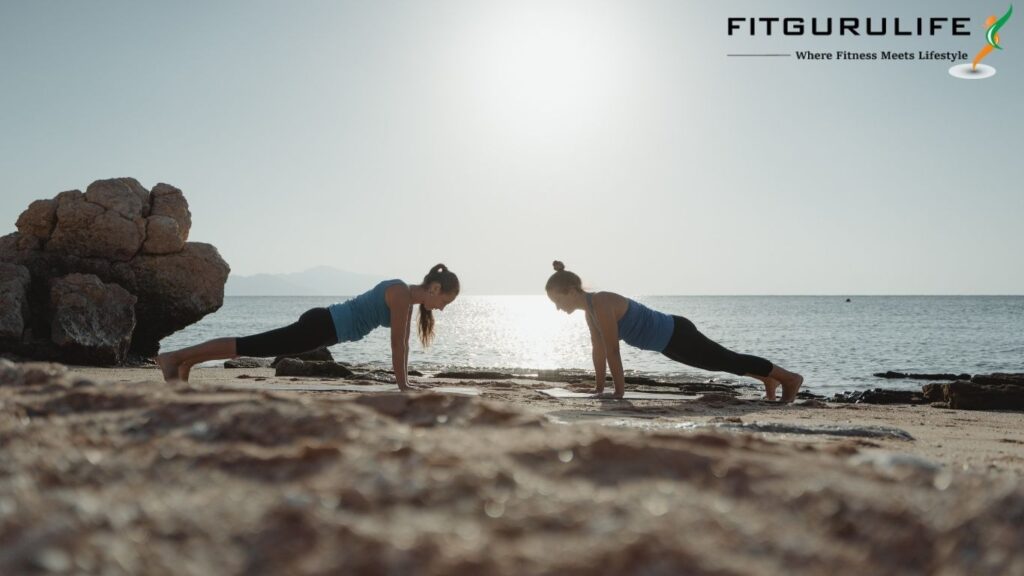
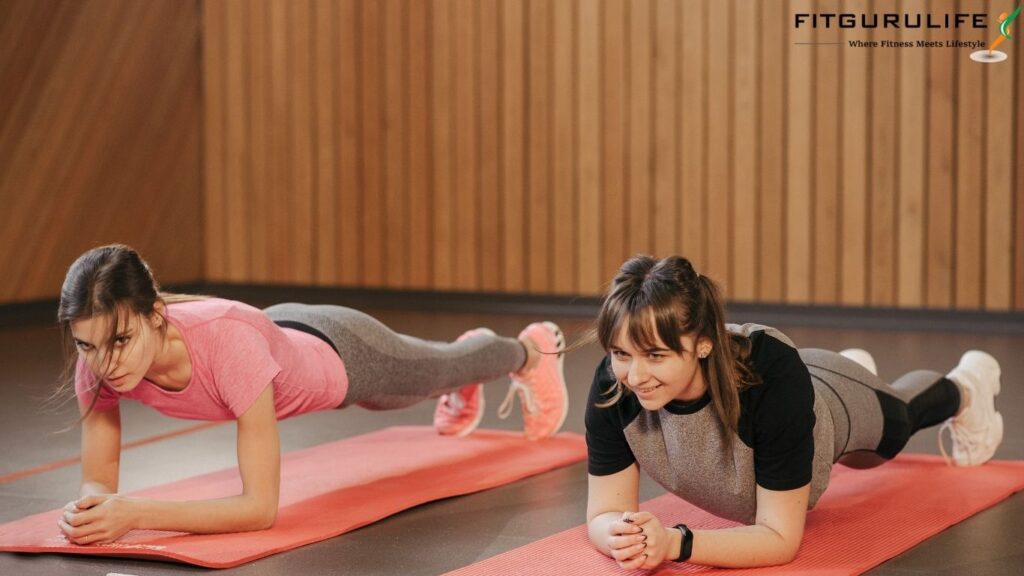
When it comes to building a strong core and enhancing overall body strength, few yoga poses can compare to the plank. Plank Pose, also known as Phalakasana in yoga, is a foundational pose that engages multiple muscle groups at once, promoting stability, balance, and endurance. In this comprehensive guide, we will explore the benefits of Plank Pose, provide a step-by-step breakdown of the proper form, and share tips for mastering this powerful asana.
Benefits of Plank Pose
Before we dive into the step-by-step guide, let’s first explore some of the incredible benefits of incorporating Plank Pose into your regular fitness routine:
- Strengthens Core Muscles: Plank Pose is renowned for its ability to engage and strengthen the entire core region, including the rectus abdominis, obliques, and transverse abdominis. A strong core is essential for maintaining proper posture, preventing lower back pain, and improving overall functionality.
- Builds Arm and Shoulder Strength: As you support your body weight on your arms, Plank Pose helps to build strength in your shoulders, triceps, and forearms.
- Enhances Leg Strength: Plank Pose engages the quadriceps, hamstrings, and calf muscles, promoting overall leg strength and stability.
- Improves Balance and Coordination: Maintaining a steady plank position requires balance and coordination, which can enhance your overall athletic performance.
- Boosts Mental Focus: The concentration required to hold Plank Pose helps to sharpen mental focus and alleviate stress.

Step-by-Step Guide to Plank Pose
Now that we have established the benefits of Plank Pose let’s break down the steps to achieving the perfect plank:
- Start on your hands and knees in a tabletop position, with your wrists aligned directly under your shoulders and your knees under your hips.
- Step your feet back one at a time, coming onto the balls of your feet and straightening your legs. Your body should be in a straight line from your head to your heels.
- Engage your core by drawing your navel towards your spine, and keep your pelvis slightly tucked to prevent your lower back from arching.
- Press through your palms, engaging your shoulder blades and spreading them wide across your back. Ensure your neck is in line with your spine, and gaze slightly forward or down at the floor.
- Keep your legs active and engaged, with your quadriceps lifted and your inner thighs spiraling towards each other.
- Hold the pose for 20-30 seconds to start, gradually working up to 1 minute or more as you build strength and endurance.
Common Mistakes to Avoid
While Plank Pose may seem simple, there are several common mistakes that can prevent you from reaping the full benefits of the asana. Here are some tips to avoid these pitfalls:
- Avoid sagging in the lower back: Ensure your pelvis is slightly tucked and your core is engaged to maintain a straight line from your head to your heels.
- Keep your shoulders stacked over your wrists: This helps to distribute your weight evenly and prevents unnecessary strain on your wrists.
- Don’t let your hips rise too high: This can disengage your core muscles and place unnecessary strain on your shoulders.
- Avoid locking your elbows: Keep a slight micro-bend in your elbows to protect the joint and maintain proper alignment.

Variations and Modifications
If you’re new to Plank Pose or have specific health concerns, there are several modifications and variations you can try:
- Knee Plank: If you find the full plank too challenging, you can perform the pose with your knees on the ground. This reduces the amount of body weight you need to support and makes the pose more accessible.
- Forearm Plank: Another option is to perform Plank Pose on your forearms instead of your hands. This can be easier on the wrists and is an excellent alternative if you have wrist pain or injuries.
- Side Plank: To target your obliques and challenge your balance, try performing Side Plank Pose. Start in Plank Pose, then shift your weight onto one arm and stack your feet, coming into a side plank position. Repeat on the other side.
Conclusion
In conclusion, Plank Pose is a versatile and effective asana that can help to build strength, improve balance, and boost mental focus. By following the step-by-step guide and being mindful of common mistakes, you can master Plank Pose and experience its numerous benefits. Remember to listen to your body and make modifications as needed, and always consult with a yoga instructor or healthcare professional before attempting any new exercise regimen. So, roll out your mat, strike a plank, and embrace the challenge as you fuel your fitness journey with the power of Plank Pose!

Also read: Common Injuries and How to Prevent Them in Bodybuildinghttps://fitgurulife.com/2023/10/20/common-injuries-and-how-to-prevent-them-in-bodybuilding/
